*This article includes mentions of merchants or brands who are partners of DoorDash, and DoorDash may receive a commission if you choose to make a purchase from these merchants or brands.
The world changed forever in 2013, when Dominique Ansel launched his now-famous Cronut. This hybrid of a croissant and a doughnut led New Yorkers and tourists alike to line up for hours outside of Ansel’s SoHo bakery in hopes of trying one for themselves. A few months later, Ansel came out with another clever item that cemented him as one of the most innovative pastry chefs of all time. Enter: the Cookie Shot.
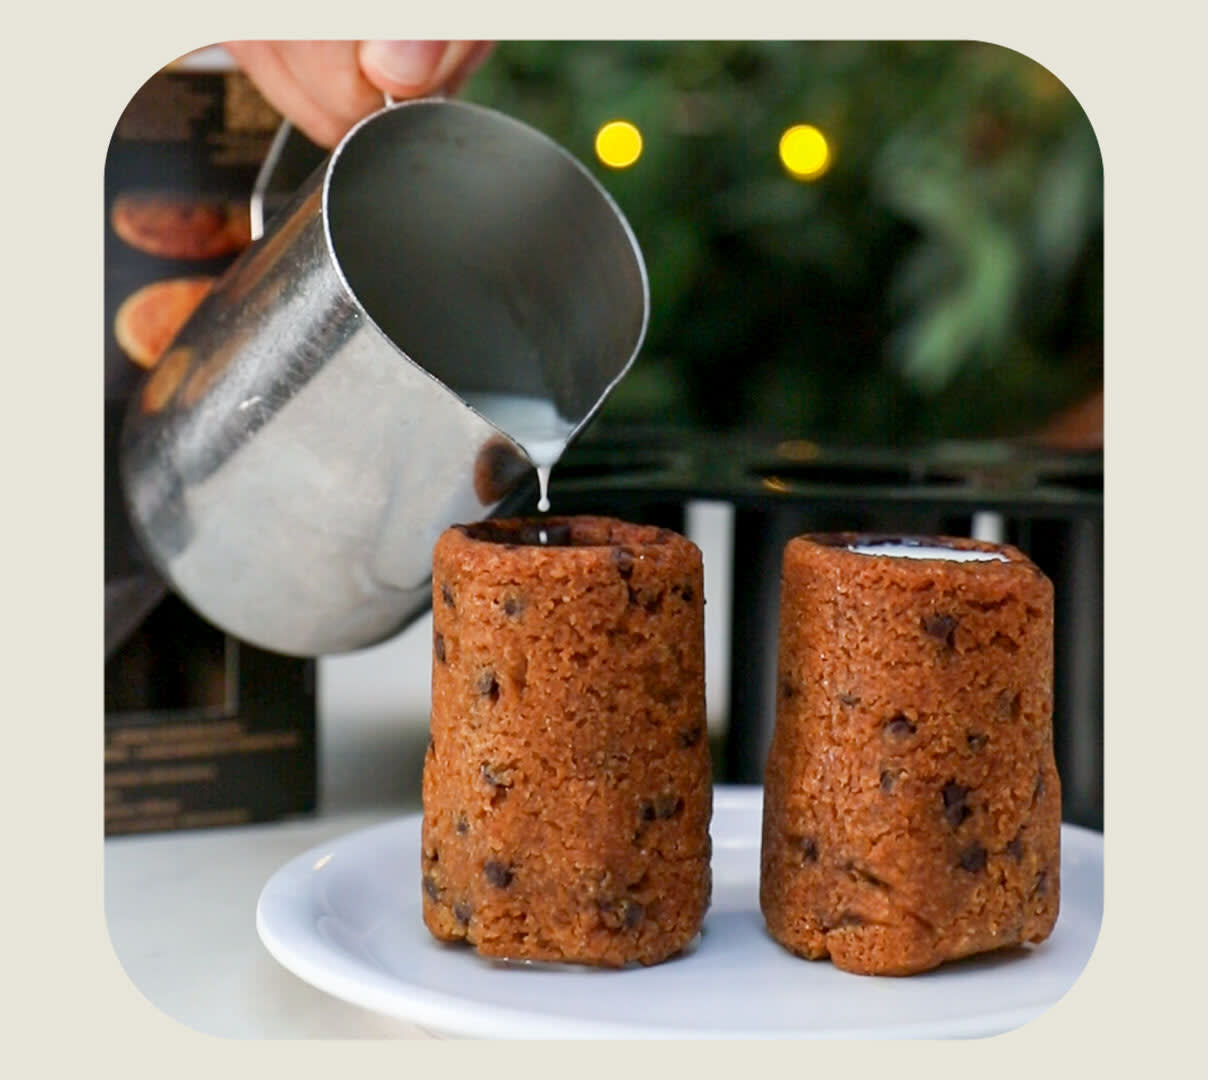
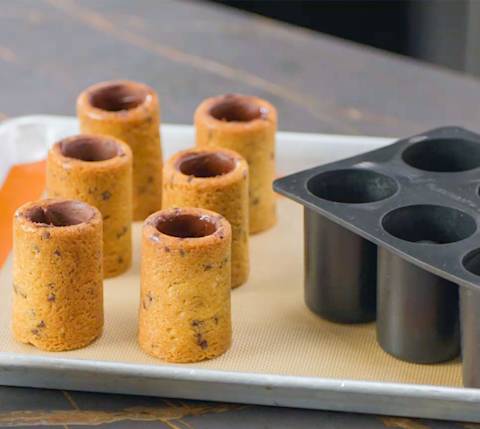
The Cookie Shot is exactly what it sounds like: a shot glass-shaped chocolate chip cookie filled with vanilla-infused milk. It’s a timeless tradition in an entirely new form. Instead of a plate full of cookies paired with a glass of milk, Ansel has turned the cookie into the cup itself.
“People just love, love, love it,” Ansel says.
In addition to his original New York bakery in SoHo and the shop in the Flatiron district, Ansel has locations in Hong Kong and Las Vegas. At the Vegas outpost, located in Caesars Palace, Ansel even built a custom vending machine that dispenses Cookie Shots 24/7. This way, bachelorette partiers, spring breakers, and casino-goers can get their sugar fix at all hours of the day. “For Vegas, what's better than a shot?” Ansel says. “A cookie shot.”
Ansel offers the Cookie Shot in three-piece sets for delivery, but he also recently launched a Cookie Shot silicone mold to help fans make them from scratch. While making a Cronut requires professional skill and lots of patience, the Cookie Shot is much easier to tackle at home.
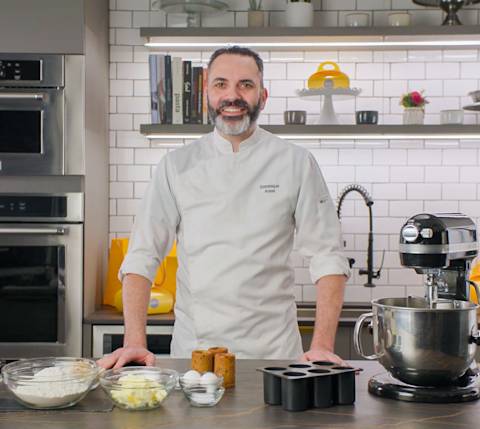
Ansel shares his recipe for Cookie Shots, divulging his methods, tips, and tricks. To make baking even easier, Ansel partnered with the French brand Maison Demarle to create a first-of-its-kind Flexipan Cookie Shot Mold. Ansel and his team use these very molds at the bakeries.
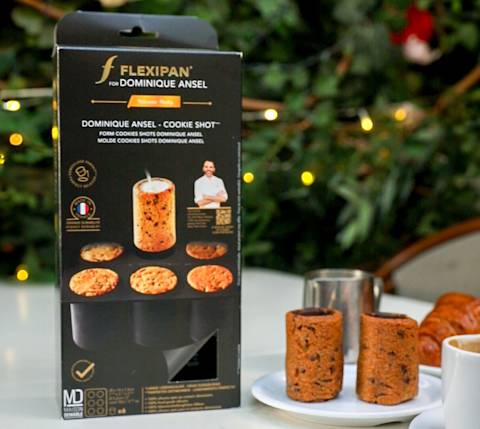
“You can reuse it thousands of times, the silicone is so strong,” Ansel says. “It's very resilient to washing, going to the oven, any type of temperature, stretching.” In addition to being super high quality, this mold makes a great gift for anyone who loves to bake.
When it comes to the actual baking, Ansel has a few pieces of advice:
Don’t rush it. As mentioned in the recipe, “Let the dough cool between each of the steps, because home kitchens are usually a lot warmer than professional kitchens.”
Add the chocolate royal icing inside of the shots before pouring in the milk. Otherwise, the cookies will get soggy. “We put on gloves and we line it with our fingers inside the cookie, and then we let it dry [for about an hour]. When the guest comes there’s a thin lining of chocolate that is dry inside that allows the cookie to hold the milk for a minute or two.”
Have fun! “We serve the cookies warm. It's fun, it's simple,” Ansel says. “It's a lot easier to do than it seems, and fun to drink and share with friends.”
Whether you’re having friends over for Galentine’s or spending a cozy night in with your Valentine, read on to find everything you’ll need to make Dominique Ansel’s famous Cookie Shots.
Chocolate Chip Cookie Shots by Dominique Ansel
Makes 6-8 Cookie Shots
Total Time: 2 hours
Ingredients and supplies
Cookie Dough
182g (3/4 cup, or 12 tbsp) unsalted butter, softened
126g (3/4 cup) granulated sugar
126g (3/4 cup, packed) light brown sugar
72g (2 large) eggs
315g (2 cups plus 2 tbsp) all purpose flour
5g (1 tsp) salt
4g (1 tsp) baking soda
83g (1/2 cup) milk chocolate chips, chopped*
83g (1/2 cup) dark chocolate chips, chopped*
*If using store-bought chips, chop them into smaller pieces, about 2-3 mm in diameter.
Chocolate Royal Icing
162g (2/3 cups) confectioners sugar
22g (1 large) egg whites
11g (2 1/2 tsp) unsweetened cocoa
5g (1 tsp) lemon juice
Equipment
Stand mixer with paddle and whisk attachments (or hand mixer and mixing bowl)
Rubber spatula
Baking sheet
Rolling pin
Ruler
Silicone baking mat Cookie Shot mold
Piping bag
Directions
Make the Dough
1. In a stand mixer fitted with paddle attachment, combine butter, sugar, and brown sugar. Mix on medium speed until well combined, about 1 minute. The mixture should be fluffy and become lighter in color.
2. Add the eggs, mix on low speed until combined. Scrape down the sides of the bowl with a rubber spatula, then continue mixing for 15 more seconds.
3. Add flour, salt, baking soda, mix on low speed until just combined. Scrape down the sides of the bowl, then continue mixing for 15 more seconds. Do not overmix (the more you mix, the tougher the cookie will be).
4. Remove dough from the mixing bowl. Fold in chopped chocolate with rubber spatula until evenly combined. Transfer dough onto a piece of plastic wrap, cover, and flatten into a disc. Chill in the fridge for at least 1 hour (this can also be made the day before).
Shape the Cookie Shots & Bake
5. Preheat oven to 350°F (175°C).
6. Remove chilled dough from the fridge. Flour your work surface, roll out dough with a rolling pin to a rectangle that’s 1⁄2 cm (1⁄4 inch) thick. Using a sharp knife, cut the dough into rectangles that are 13 cm wide X 8 cm tall (5 inch X 3 inch). (If dough is getting too soft, put back in the fridge for 10 min until chilled.)
7. Place the rectangles inside each individual Cookie Shot mold cavity, making sure the bottom edge reaches all the way down into the bottom of the mold. Use your fingers to gently press the top edges of the dough towards the center, creating a flat and level seal (this will become the bottom of your Cookie Shot. You should not see any of the silicone mold peeking through the top of the dough).
8. Place onto a baking sheet. Lay a silicone mat (or another baking sheet) over the Cookie Shots (this prevents the dough from rising unevenly and tops from getting too browned, and also keeps the moisture in during baking). Bake on the center rack for 20-25 minutes, rotating 180° mid-way, until the tops are golden brown. Remove from the oven and transfer to the fridge to let chill fully before unmolding, a few hours or overnight. (Do not unmold when warm, as the Cookie Shots are too soft and will tear).
9. Once fully cooled (the Cookie Shots should feel firm), unmold carefully by pushing the Cookie Shot out of the mold.
Make the Chocolate Royal Icing
10. In a stand mixer fitted with whisk attachment (or with a mixing bowl and hand mixer), combine all ingredients and mix until light and fluffy. If the mixture feels a bit dry, add a few drops of water as needed to make a smooth consistency.
Line the Cookie Shots & Serve
11. Transfer the chocolate icing to a piping bag. Cut a small hole at the tip. Pipe the chocolate icing a third of the way inside each Cookie Shot, then with your finger or a thin spoon, spread the icing all around the inside of the Cookie Shot until all the surfaces are fully covered and smooth. Allow the icing to fully dry, about 1 hour.
12. Once the icing has dried, fill with your favorite kind of milk, sip, and then eat the cookie. Cheers! Best enjoyed right away. Here are a few tips:
Once you fill the Cookie Shot with milk, drink it right away! Leaving milk sitting in the cup for more than a minute or so will cause it to get soggy (and may start to leak).
You can also preheat your oven to 350°F and warm the Cookie Shot for 1 minute, max, before filling with cold milk. “We serve our Cookie Shots warm at the Bakery, with cold vanilla milk,” Ansel says, “and it’s my favorite way to eat them!”
Storage Instructions
If storing, keep covered or in an airtight container in the fridge for 1-2 days; let the Shots come to room temperature or re-heat according to above instructions before enjoying).
PHOTO CREDIT: Courtesy of Dominique Ansel / Will Engelmann